Configuring the Assembly
You’ll want to change some of the settings of your compiled DLL, and we’ll do this via the Assembly Information option in Visual Studio.
Right click the project in the Solution Explorer and select Properties.
In case you’ve forgotten, your project sits within your solution and can be seen in the Solution Explorer:
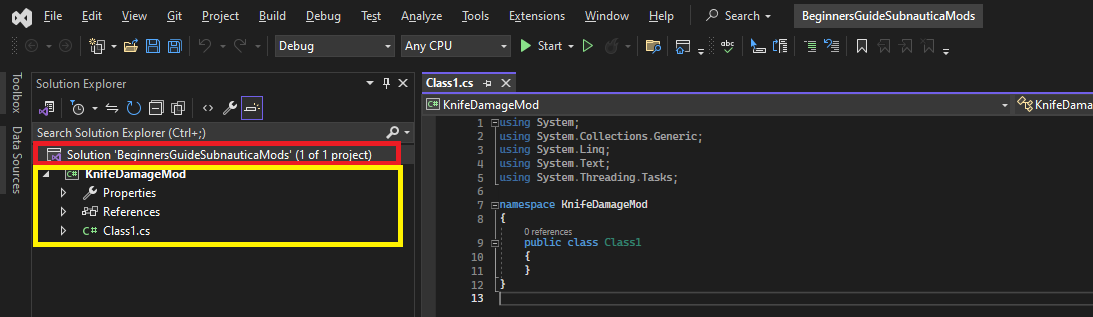
In the image above, the solution is in red, and the project is in yellow. It’s the “KnifeDamageMod” project that you want to right click.
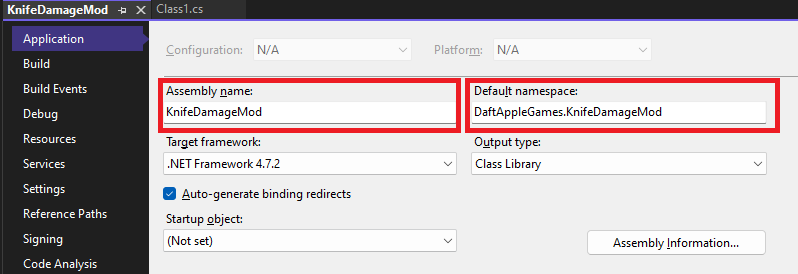
You’ll see an Assembly Name and Default Namespace. Namespaces are important, as they allow you to “ring fence” your mod code to avoid conflicts with other mods that may use the same methods and functions. I like to set the Default Namespace as follows, though you’re free to choose what works best for you:
Click the Assembly button and you’ll see something like this:
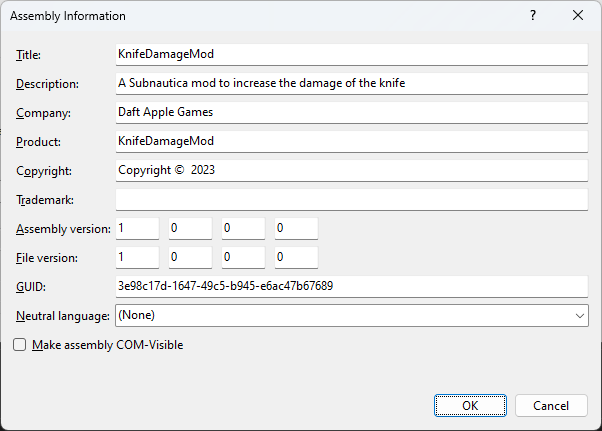
Again, you can leave Title as it is, or change it, and you can set some of the data items here with your name and copyright info. Your initial version will be 1.0.0.0, so leave this as is too. Click OK to close that dialog.
Still in Properties, click the Build item. Here, we want to Allow unsafe code:
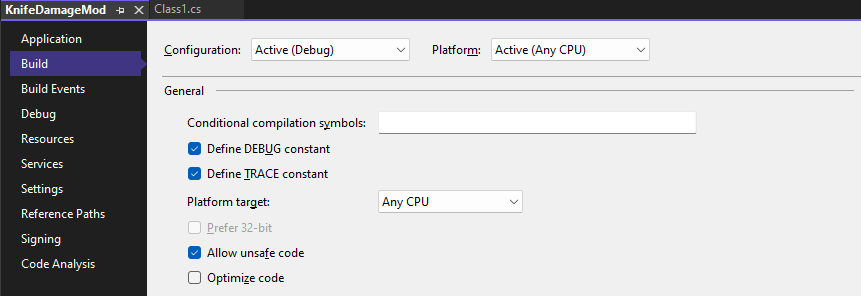
This prevents any issues when we try to use protected methods and fields that have been “unlocked” for us via the Publicizer. If you’ve chosen not to use the Publicizer, you can leave this as is.
One more thing we can do here is to setup our project to automatically deploy our mod after each successful build. We do this via the Build Events options. In Post-build event command line, you can add something like this:
mkdir "E:\Games\Steam\steamapps\common\Subnautica\BepInEx\plugins\$(TargetName)"
copy /Y "$(TargetPath)" "E:\Games\Steam\steamapps\common\Subnautica\BepInEx\plugins\$(TargetName)"
What this does is:
- Creates a folder for our mod in the BepInEx plugins folder, if one doesn’t already exist
- Copies the compiled mod DLL into the folder
You can now actually build your mod DLL and check it gets deployed successfully. To do this:
- Right click your project and select “Buid”
- Check the output, there should be no errors and the compiled DLL should have been copied successfully to your game folder:

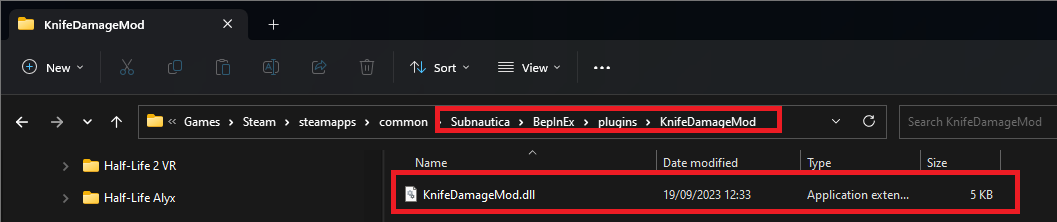
- You can check by opening the game folder in Explorer:
Okay, we’re almost ready to get coding!