Checking in to GitHub
Well, mod created. Good work! If you took my advice and registered for an account on GitHub - good for you! You won’t regret it! Now you’ve tested your first build, you can check your code into GitHub. This is easy in Visual Studio, or you can use GitHub Desktop. I’m going to use GitHub Desktop for this tutorial.
Create a repository
Creating a repository is easy:
- Open GitHub desktop
- Go to File > New Repository
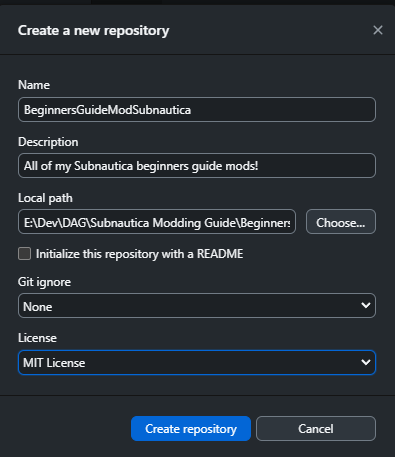
- Give the repository a name, a description, and location your solution folder as the local path.
- You can choose to initialise a README, set a “Git ignore” and select a license for your code:
- Click “Create repository”
Publish your repository
Publishing is even easier:
- In the top right of GitHub Desktop, click “Publish repository”. That’s it!
Share your repository
To share with others:
-
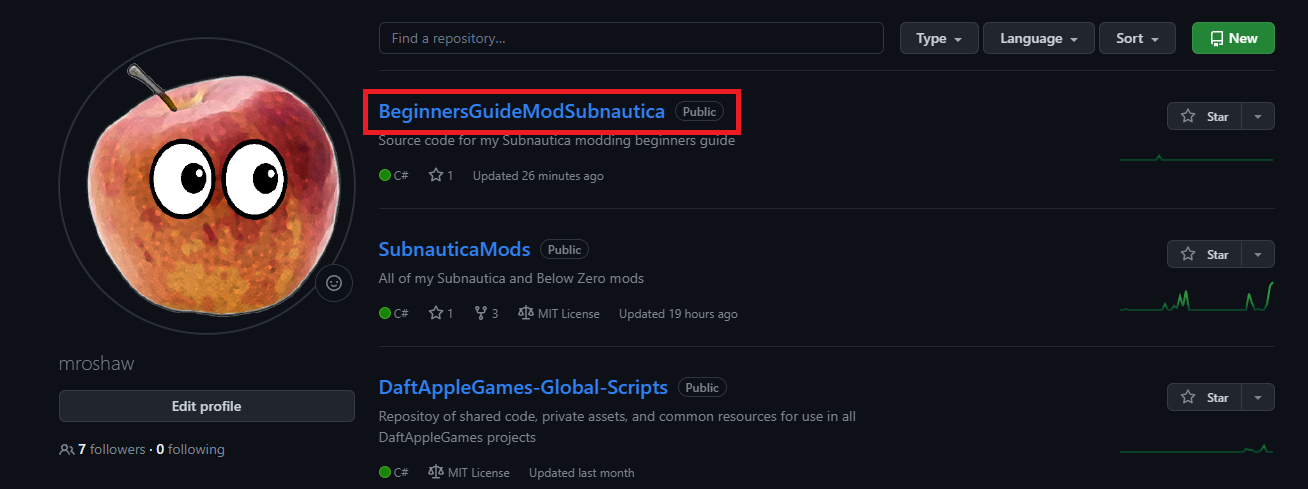
You can now go to the GitHub website and you should see your new repository listed
-
Click the link to your repository
-
Copy the URL and share. For example, my Beginners Guide mod repo can be shared via:
https://github.com/mroshaw/BeginnersGuideModSubnauticaAs you make changes to your code, don’t forget to come back to GitHub Desktop and check in any changes.
That’s it! You are done!